How To Enable GPU Debug Mode
Games crashes can be caused by GPU failure. The first two points of this article will take you some troubleshooting steps that might help with the issue. If after following them, you are still experiencing issues, we will be grateful if you enable GPU debug mode. This will provide us with data that may help us find a solution.
1. Update GPU drivers.
To ensure optimal performance, please make sure to update your GPU drivers to the latest version. Download the latest drivers depending on your GPU manufacturer using the following links:
2. Clear Shader Cache
If the issue still occurs, try clearing the GPU shader cache.
2.1 Nvidia
- Open
NVIDIA Control Panel->Manage 3D Settings-> SetShader Cache SizetoDisabled-> Save changes and reboot. - Open
%LOCALAPPDATA%\NVIDIA\and delete theDXCachefolder inside it. - Open
%USERPROFILE%\AppData\LocalLow\NVIDIA\PerDriverVersion\and delete theDXCachefolder inside it. - Go back to
NVIDIA Control Panel->Manage 3D Settings-> SetShader Cache SizetoEnabled-> Save changes and reboot your PC. - Then open the game.
2.2. AMD
- Go to
%USERPROFILE%\AppData\Local\AMD\and delete theDXCacheorDxcCachefolder inside it. - Restart your computer.
- Then open the game.
2.3. Intel
- Go to
%USERPROFILE%\AppData\LocalLow\Intel\and delete theShaderCacheorDxCachefolder inside it. - Restart your computer.
- Then open the game.
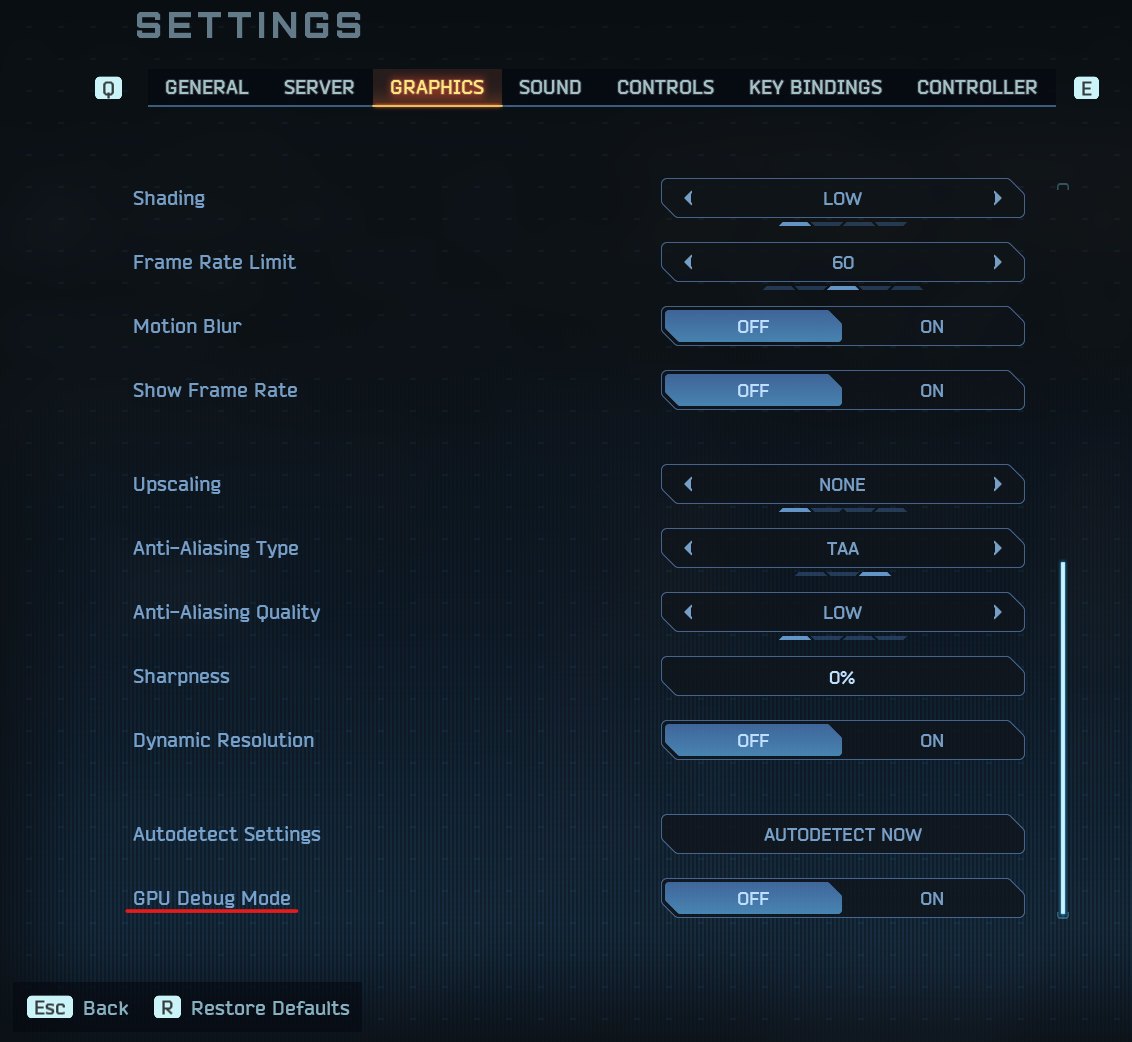
3. Enable GPU Debug Mode
Set GPU Debug Mode to ON in the in-game settings (Graphics tab).
You can then start the game as usual. Please note that running the game in GPU debug mode may impact performance, but you can disable this option at any time.
The crash information collected in GPU debug mode is invaluable for optimizing the game and increasing its stability.
We appreciate your help in making WRF even better!